I had a lovely zip front Fair Isle Sweater that I loved and wore only occasionally. It was 100% wool, and I worried about laundering it. The last time I washed it, I used cold water and then laid the sweater out on the guest bed to dry. It shrunk. I couldn't believe it! So incredibly frustrating. You think you've done it all right, and suddenly, you've lost a perfectly nice item of clothing. I decided that I would keep my sweater by transforming it. I decided to make mittens.
I am a smitten mitten girl. You can have your gloves. In Montana, if you want warm hands in the winter, and you don't care about glamour, you wear mittens. I will always choose warmth over glamour. But mittens for women are hard to come by. I am apparently in the minority when it comes to fashionable hand wear. And I'd never made mittens before, so this was going to be an adventure. Be warned --- this is a picture-heavy post.
I started by throwing the slightly shrunken sweater into the washing machine on the hottest water setting. When that was done, I threw the sweater into the dryer with its hottest setting. When that was through, I had one freakishly small and misshapen sweater, well-felted. Good thing I had a plan.
I cut the sweater apart along all its seams on both side of each seam, except that I didn't cut down the length of the sleeves. I just cut them free from the body of the sweater. I threw away the zipper.
Then, using my hand as a more-or-less size model, I cut out nice little blunt mitten fronts and backs from the main body of the sweater, originally intending to use the finished lower edge of the sweater as the cuff of the mitten. I cut four of them, with the fabric laid out, right sides together. I have seen mitten tutorials where the instructions were to trace around the whole hand, including the thumb, but I wanted a better, more well-made mitten, with a set-in thumb. The other way leaves you with too much bulk in the palm. My way gives you an actual left and right mitten, as well.
Next, I cut out the space needed to set in the thumb. At this point you have two sets of these side by side. Remember that you are mirroring these as a set, and you only cut out that little piece from the top layer of each set, opposing each side.


You must also understand that I had only my camera phone while I was working on this project. I realize that my demonstration illustrations are a bit low tech, but I think they help. I have medium sized hands, and here were the measurements of my cuts:
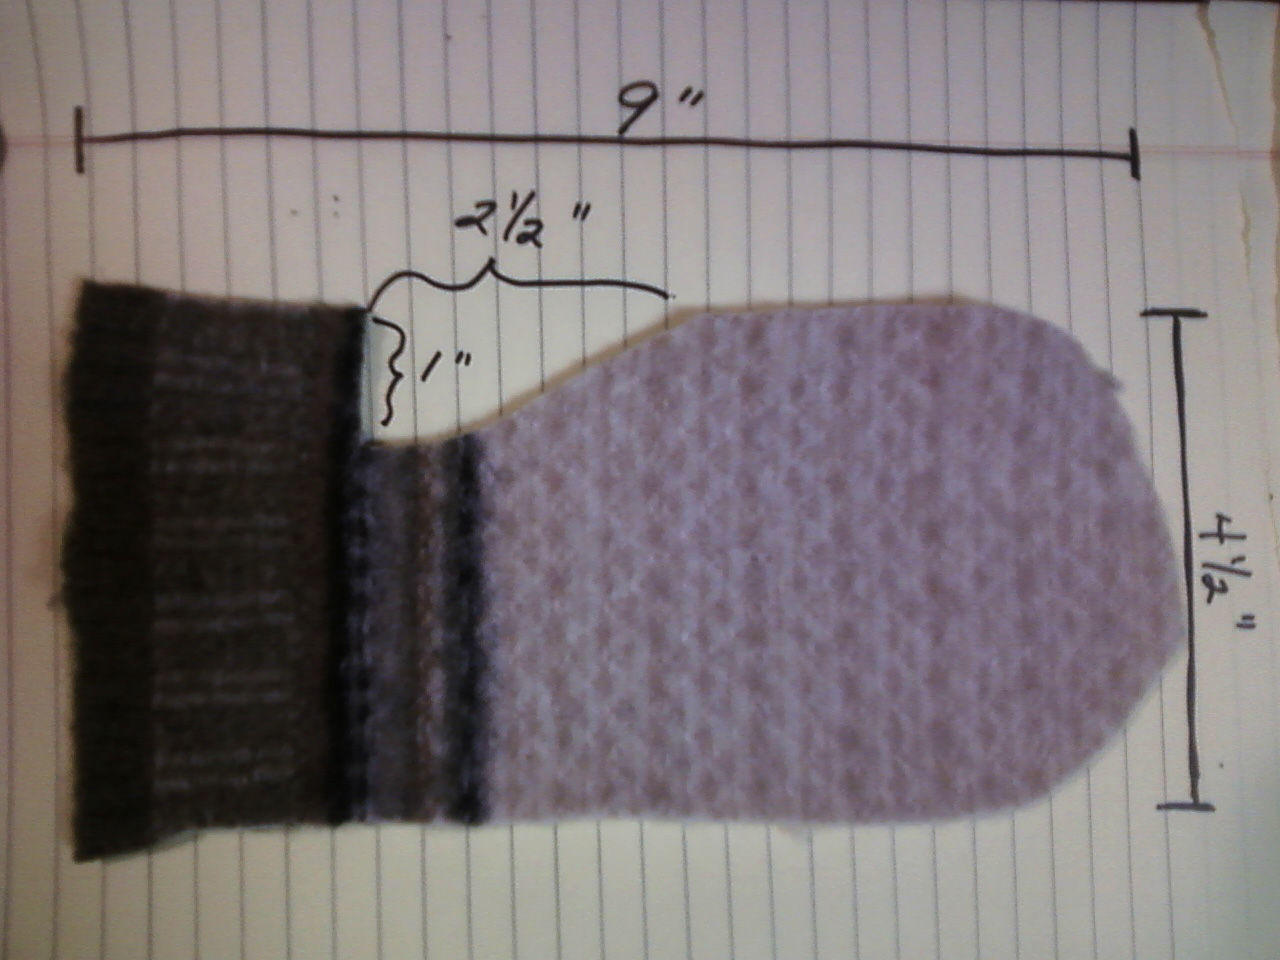
By the way, I think that it would have worked just as well if the length of that thumb hole had been only 2 inches.
Time to sew! I set my machine to a very close-set little zig-zag - almost a button hole stitch - and sewed each mitten together, following the stitch lines indicated in the following illustration. I left very little seam allowance, and then trimmed fairly closely to the seam.

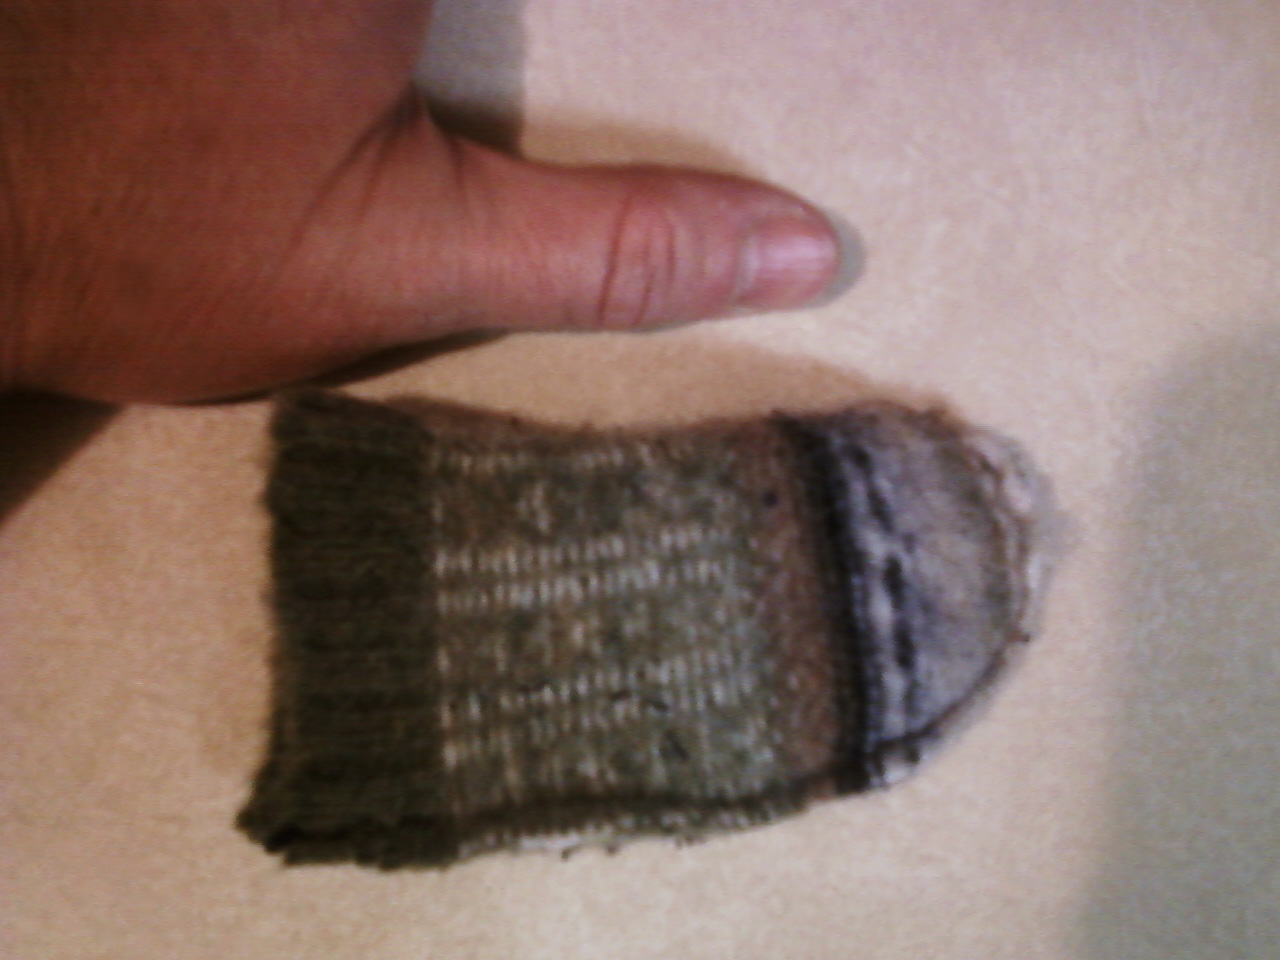
Next, I cut out the thumbs. For this, I used the cuff end of each sleeve. I loved that the Fair Isle pattern was repeated on the sleeve, so that I got a fun little effect on the thumbs.

Then, I sewed around each thumb. You can see from the picture above that I cut out the thumb and used the folded edge of the sweater as one side of the thumb, so I would only need a seam down the outside. I decided that would help keep the bulk out of the palm as well.
If you have not made garments in the past, I am hoping these pics will still help you understand what I did. Essentially, I set in that thumb in much the same way you would set in a sleeve. The thumb is turned right side out

and then placed inside the inside-out mitten, raw edges together at the thumb hole, as below.

I had used the cuff edge of the sleeve for the thumb, which meant that it was both decorative and finished. I was fortunate in that, because I had to stretch the thumb pretty hard to match the receiving hole in the mitten.
Here they are, sewn together, seam trimmed. Go back and do the same with the other mitten.

My sweater had had a nice shawl collar. I realized that I could use it to make cuffs for my mittens. That way, they'd be tighter, longer, and warmer. I cut that collar off and then cut it in two pieces, ending up with two nice 6" chunks of ribbed sweater edge, as illustrated below. One long edge had already been folded over to make the whole thing doubled; the other edge was raw after deconstruction. I sewed the ends of each 6" length together to get two cuffs.

I think I'm missing a pic to illustrate this step, but it's similar to how the thumb was set in the hole in the picture above. I essentially slid the cuff around the outside of the mitten, lined up the raw edges, and sewed them together, matching the seams of the cuff and the mitten just below the thumb. Again, I had to stretch as I sewed to make the cuff fit the slightly larger circumference of the lower edge of the mitten. I did this for each mitt.

I doubled checked each seam, trimming closely. Lastly, I turned the mittens right side out and tried them on.


They are warm, comfortable, and stylish. Handmade 100% wool mittens. You can't beat that!

I hope you never shrink a favorite sweater, but if you do - you can open a can of Sass on that sweater and keep on wearing it.......... in a new and different way!
I'm linking up at some of my favorite party spots!
Love,
Sass
What a great way to upcycle a nice sweather. Living in Norway, I know of the need for someting to keep your hands warm, to well :)
ReplyDeleteWish you a good day!
Love those!
ReplyDeleteLove it! We never seem to have enough mittens in the house. Great idea.
ReplyDelete